Setting Up Subcontractors
To use subcontractor, you will need to create them as Vendors and Resources in the system and need to create a payment vouchers to pay them. Typically, you will create a voucher when you have an agreement with a subcontractor on specific rates for labors and you want it to become a payables document for that supplier. This feature works well with your fully integrated ERP system, as the voucher can be integrated to your payment system to make the payments to the subcontractor. It can also work as a verification method when you have multiple work orders for one subcontractors, giving you a review process where you can approve work completed and payments.
1.Create Vendor and Resource
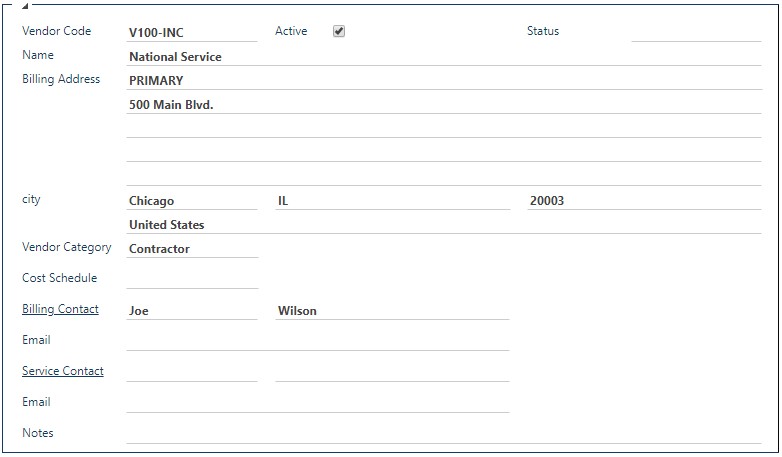
To use subcontractors, you first need to set up a Vendor and a Resource within that vendor. Access the Vendors master list through the Master Records & Settings. Add a new vendor and input the information required. Vendors are the company supplying the resources for the subcontractor work. The Vendor Code is required and will be the username for that vendor.
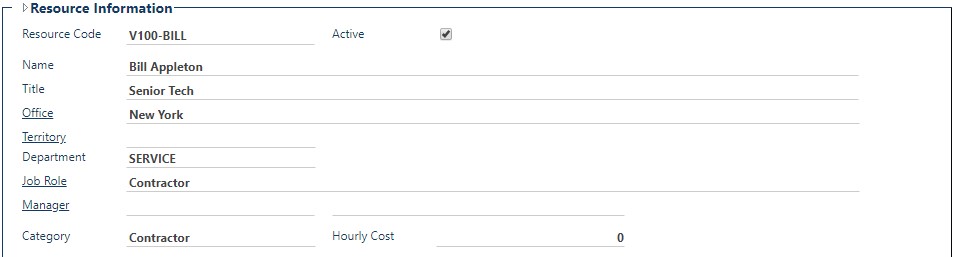
With the vendor created, create a resource to fall under that vendor. A resource can be that specific company itself, in which that company will decide the resource being sent out, it can be each resource within that company, or it can be a type of labor under that company, such as electrical, mechanical, maintenance, etc. For subcontractors, you will need to select the Category as Contractor. This will create vouchers automatically, as soon as the work order status is changed to Closed.
When setting up Resources as part of a Vendor, use the Vendor Details section to identify the Vendor the Resource belongs to. Use the magnifying glass beside the Vendor Code to attach the particular resource to that Vendor.

2.Establish Rates
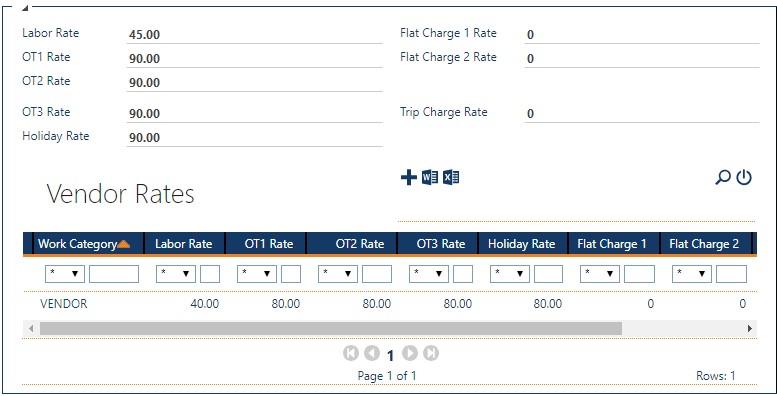
In either the Vendor or the Vendor’s Resource, you will need to establish their rates. These rates will be picked up as part of the Work Category in a Service Code you build to use when using subcontractors. Use the Rates tab on the Vendor or Resource screen, and established labor rates, overtime rates or flat charges for that specific Vendor or Resource.
3.Build Service Code
To apply vendor costs to a work order, you will need to build a service code that pulls the subcontractors labor costs from their vendor or vendor resource rates you established. To build a Service Code, access the Master Records & Settings and select the Support Setup tab, followed by the Service Codes tab. Here you can create a new Service Code.
Start by naming your Service Code and giving it a description, which will show up when you select them on a work order. Next, you will need to create a Travel Work Category and a Labor Work Category. If you have already built categories, you can use the drop-down menu and select the one you have.

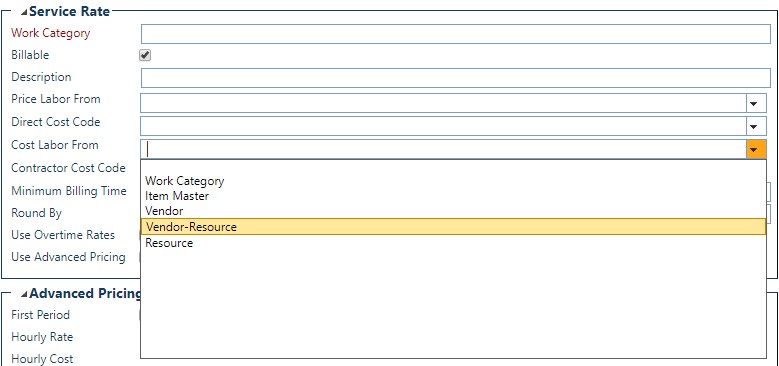
To create a new Labor Work Category for the subcontractor, click the Labor Work Category hyper-link to bring up the Service Rate setup screen. For a subcontractor, you will use the drop-down menu in the Cost Labor From field to select either the Vendor or Vendor Resource rates you applied. This will tell the Service Code that your costs are coming from the Vendor.
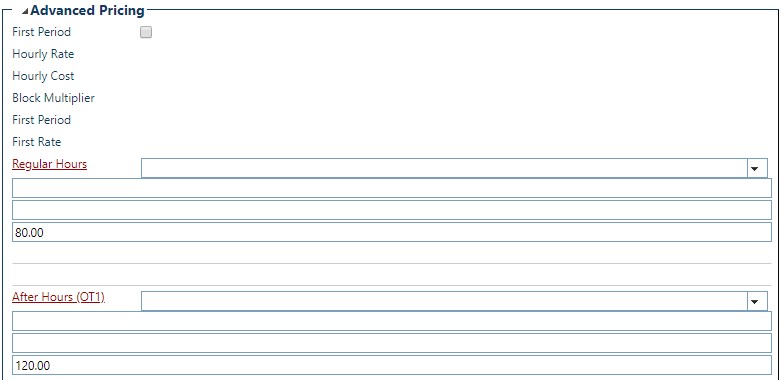
In the Price Labor From field, select Work Category, which will tell the Service Code to take the Pricing from those set out in this Work Category. Go down to the Advanced Pricing section and identify the pricing of labor that you will charge the customer in the specific fields.
4.Select Correct Service Code
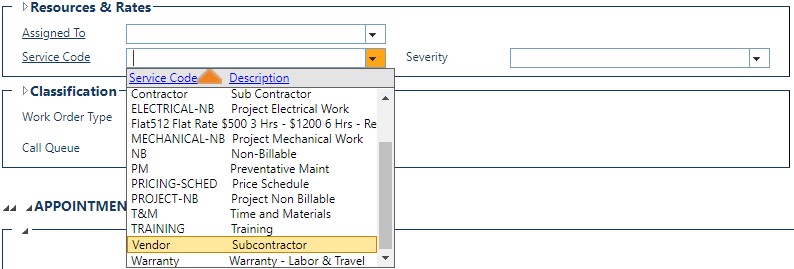
When building a work order that will be assigned to a subcontractor, in the Resource & Rates section, use the Service Code drop-down menu to select the service code you built for the subcontractor. This will define the labor rates as being those defined by the vendor.
5.Add Appointment
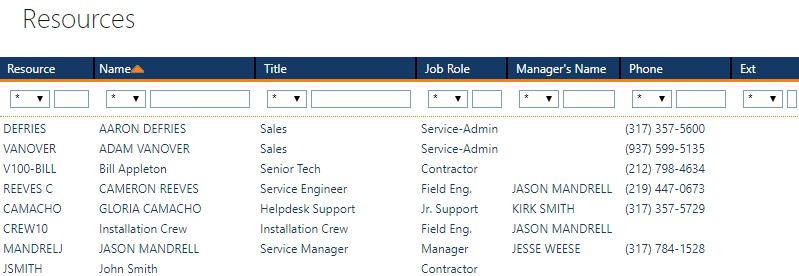
To add an appointment to the work order using a subcontract, use the Appointments tab in the work order menu, and click the plus button to start creating a new appointment. The Appointment screen will display, and you will need to start by adding the correct Resource to the appointment. Use the search function to display all your resources and select the subcontractor from the list. Subcontractors will have ‘Contractor’ in their job role.
Complete the appointment by adding in additional information, such as description, start and end time and hours of work.

Upon entering in hours and saving the appointment, the system will automatically calculate the labor rates, based on using the Vendor service code selected earlier.
Complete the work order when you are finished adding appointments using the Complete button on the main summary screen, and then close the work order, using the Close button under the work order menu.
*Note: Subcontractors can add in their own hours through the mobile app or subcontractor portal, which would create an appointment entry.
6.Create Voucher
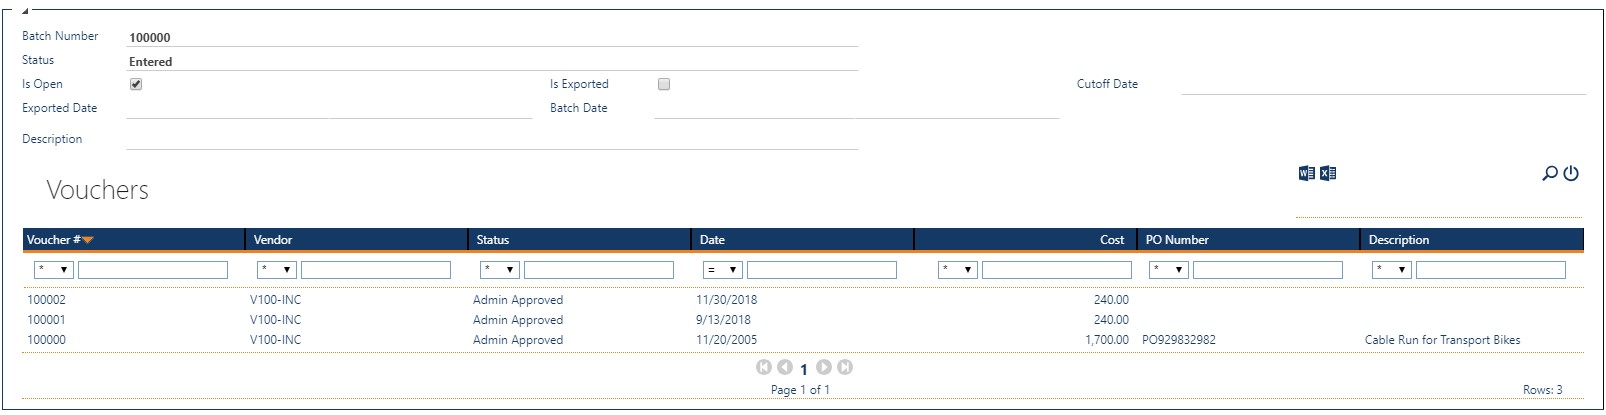
Upon completing the work order and having appointment information entered, the voucher will automatically be completed once the work order is in closed status. Entered vouchers can be located using the main menu, selecting the Invoices tab, and then select Voucher and then Voucher List. This will show all the vouchers currently entered and approved.

![]()
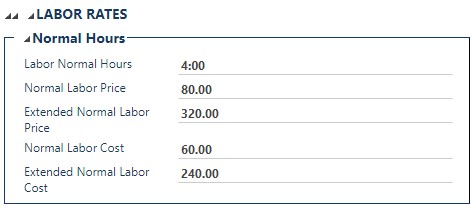
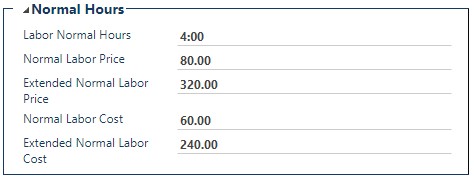
Changes to the cost on the Voucher Line that are approved, will also be reflected on the Work Order in the Labor Rates.
7.Approve and Batches
Use the Admin Approved button to approve the voucher and any changes made. The workflow status will change to Admin Approved and the voucher will be put into the Voucher Batches list. All vouchers approved will appear in the batches list until they are exported to the accounting system for payment.